Mold On Subfloor: Signs, Health Risks And Removal Tips
TL;DR: Mold on subfloor, a common issue in both new construction and older homes, presents significant health risks and requires immediate attention. Signs of subfloor mold include black or dark stains, typically 1 foot in diameter, musty odors, and visible dampness on plywood or OSB subflooring. Health hazards from subfloor mold range from allergic reactions to severe respiratory issues, particularly with toxic black mold species. To remove subfloor mold, first identify and fix moisture sources, such as leaky wax rings under toilets or inadequate crawl space ventilation. Use protective gear (N95 mask, gloves) and apply EPA-registered products like Concrobium, RMR-86, or hydrogen peroxide to affected areas. For extensive subfloor damage, professionals may recommend replacement with mold-resistant materials such as Dryguard Enhanced OSB. Never use bleach on subfloor mold, as it’s ineffective on porous wood surfaces. After treatment, ensure thorough drying of the subfloor and consider applying mold-resistant primers like Kilz or Zinsser Mold Killing Primer. To prevent future mold on subfloor, maintain indoor humidity below 60%, improve subfloor ventilation, and use moisture barriers in crawl spaces. When replacing subfloor, opt for mold-resistant materials like 1 1/4 inch thick plywood or Dryguard Enhanced OSB. Subfloor mold remediation can cost up to $15,000, emphasizing the importance of early detection and proper subfloor moisture management.
Mold growth on different subfloors, including concrete subfloors often found in basements, OSB subfloors commonly used in modern construction, and plywood subfloors popular in home building, is a persistent issue for homeowners. These unwelcome developments can affect both health and home structure. Subfloors, which provide a foundation for flooring materials, can harbor various types of mold. ou may be wondering how it appeared and what steps to take. This guide will provide information on dealing with mold on subfloors and plywood, from identification to removal.
What Does Mold On Subfloor Look Like?
Mold on subfloors can appear as dark stains, black speckles, white/yellow growths, or fluffy substances. It’s often discovered during renovations, after water damage, or in humid areas. However, when you can’t see mold but think it might be there, or if you’re worried about what kind of mold you have, professional mold inspection can help. We use special tools to take samples of the air or surfaces. These samples are then examined in our laboratory to determine if mold is present and what type it is. This is especially important if you’re concerned about toxic molds that can make people very sick.
Here are typical signs of mold on subfloors that you can observe:
1. Dark Stains And Discoloration
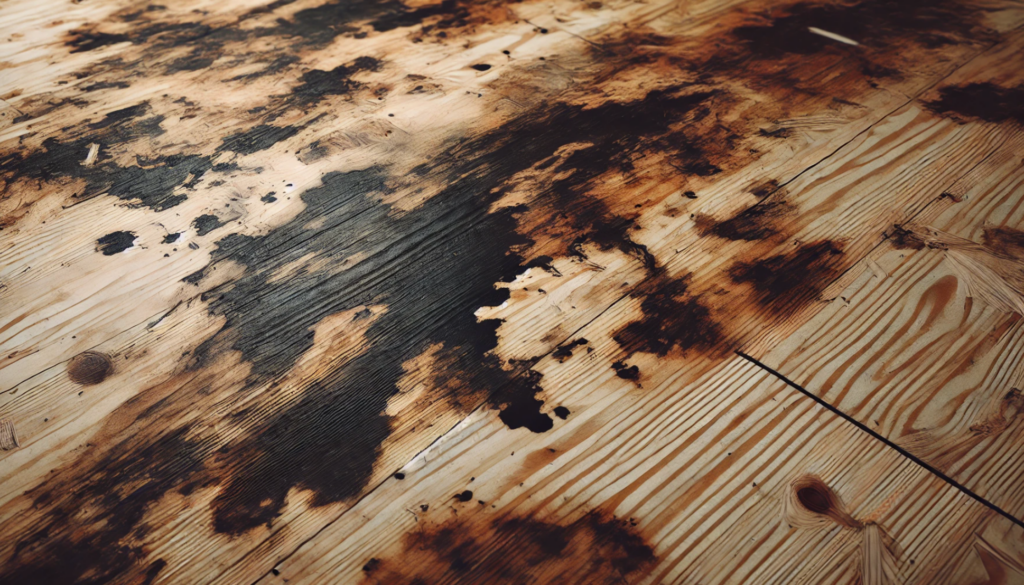
Mold often appears as dark stains on subfloors. These stains can be brown or black and may cover small or large areas. The color can range from light to very dark. Unlike water stains, mold stains don’t always feel wet or soft when touched. Sometimes, you might see patchy dark areas that look different from the normal color of the wood.
2. Black Speckles
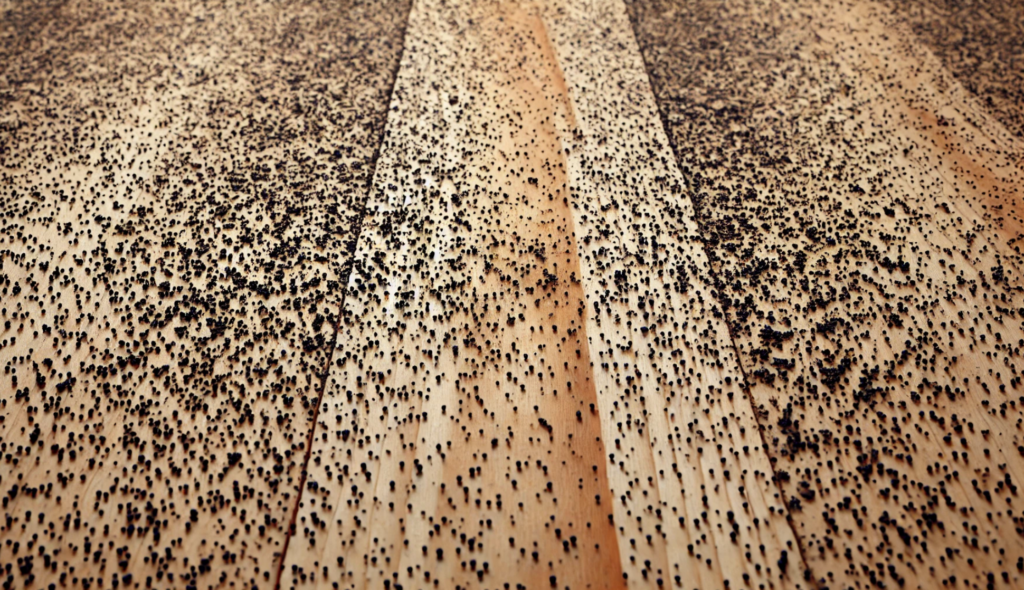
Another way mold can look is like tiny black dots spread across the subfloor. These dots might remind you of pepper sprinkled on the floor. It’s important to know that sometimes these black specks could be something else, like old glue or bits of tar paper left from previous flooring. If you’re not sure, it’s best to have an expert check.
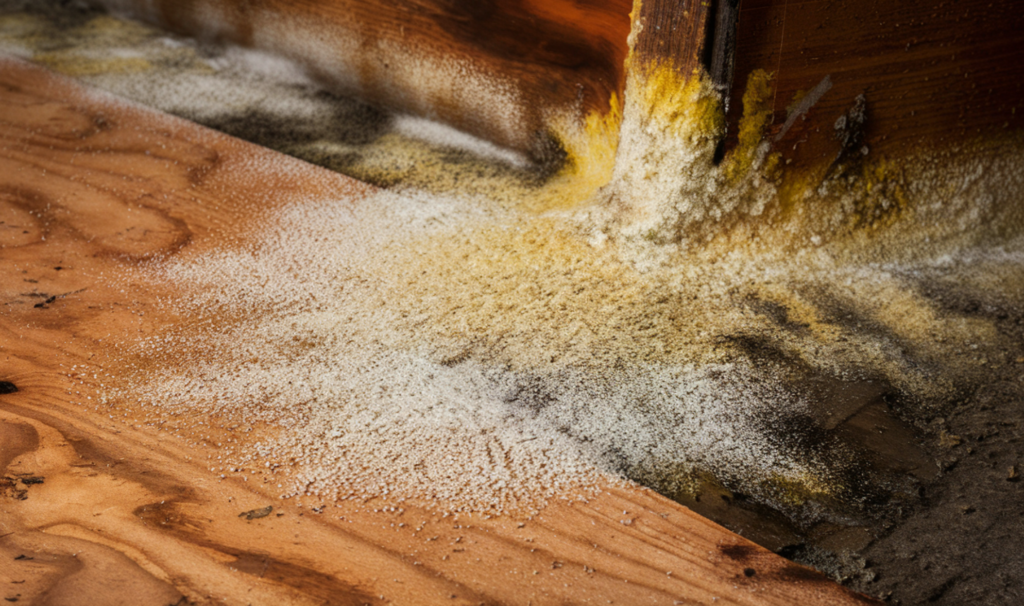
3. White Or Yellow Growths
Mold can also appear white or yellow. This type of mold might look fuzzy or powdery, almost like a dusting of snow or sugar on the subfloor. You’re more likely to see this kind of mold in really damp places like basements or under sinks where there’s been a water leak.
4. Fluffy Substances
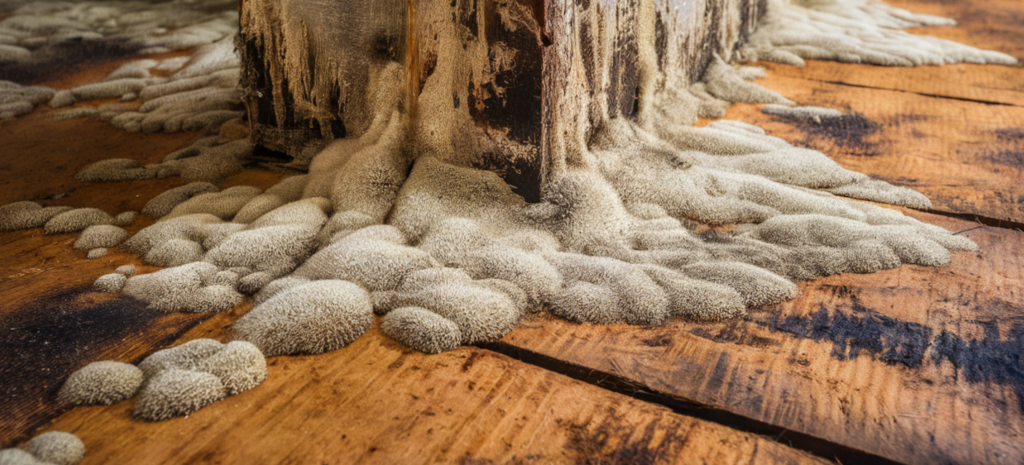
In some cases, especially after a flood or in very humid areas, mold can look like fluffy cotton balls growing on the subfloor. These fluffy growths can be white, gray, or even slightly yellowish. They clearly show that there’s too much moisture in the area.
Molds need only a food source (any organic material, such as leaves, wood, paper, or dirt) and moisture to grow and multiply. This is why fluffy mold growths are often seen in areas with excessive moisture. Look at structural lumber, insulation, and other materials in basements, attics, and crawl spaces for signs of mold growth and moisture.
5. Musty Ordor
One of the easiest ways to detect mold is by its smell. Mold often has a strong, musty odor that reminds people of old books or damp basements. If you notice this smell, especially if it doesn’t go away after cleaning, there might be mold growing somewhere you can’t see.
Musty odors are a strong indication of mold growth and can often induce headaches, nasal irritation, nausea, dizziness, and fatigue. Pay attention to areas with poor ventilation, such as basements, crawl spaces, and attics, as these are common places for musty odors and mold growth.
Is Mold On Subfloor Dangerous?
Yes, mold on all types of subfloor, including plywood and concrete, is dangerous and bad due to the potential health risks and structural damage it can cause. Mold growth in subflooring is typically caused by moisture issues such as leaks or poor ventilation, and it can lead to various problems if not addressed properly. The presence of mold on subflooring can make you sick as it can cause respiratory issues, allergic reactions, and other health concerns, especially for individuals with preexisting conditions or weakened immune systems.
How To Treat Mold On Subfloor?
To treat mold on subfloor, first, identify and fix moisture sources. Assess damage extent. Prepare area with protective gear. Remove visible mold. Apply EPA-registered mold killers. Clean and disinfect. Dry thoroughly. Use mold-resistant primers. Replace severely damaged sections. Implement preventive measures. Consider professional remediation for large infestations. Address underlying issues to prevent recurrence.
Now, let’s dive into into the detailed methods:
1. Identify And Fix Moisture Sources
Inspect for leaks in plumbing, roofing, or foundation. Check for inadequate ventilation in crawl spaces or basements. Look for signs of water damage or high humidity. Fix any identified issues to eliminate the source of moisture. Ensure the crawlspace is dry after remediation. Add more ventilation and moisture barriers in crawl spaces for prevention. For homes built in the 1950s, pay special attention to potential charring or historical issues that may be mistaken for mold. Read our guide on mold in basements to learn more.
2. Assess Mold Damage Extent
Visually inspect the affected area and surrounding subfloor. Check for soft or discolored spots indicating extensive damage. Consider professional testing for large-scale or potentially toxic mold infestations. Determine if the mold covers more than 10 square feet, which may require professional mold remediation help. For older homes, be aware that black speckles might be residue from tar paper or old asphalt paper, not necessarily mold.
3. Prepare Area For Treatment
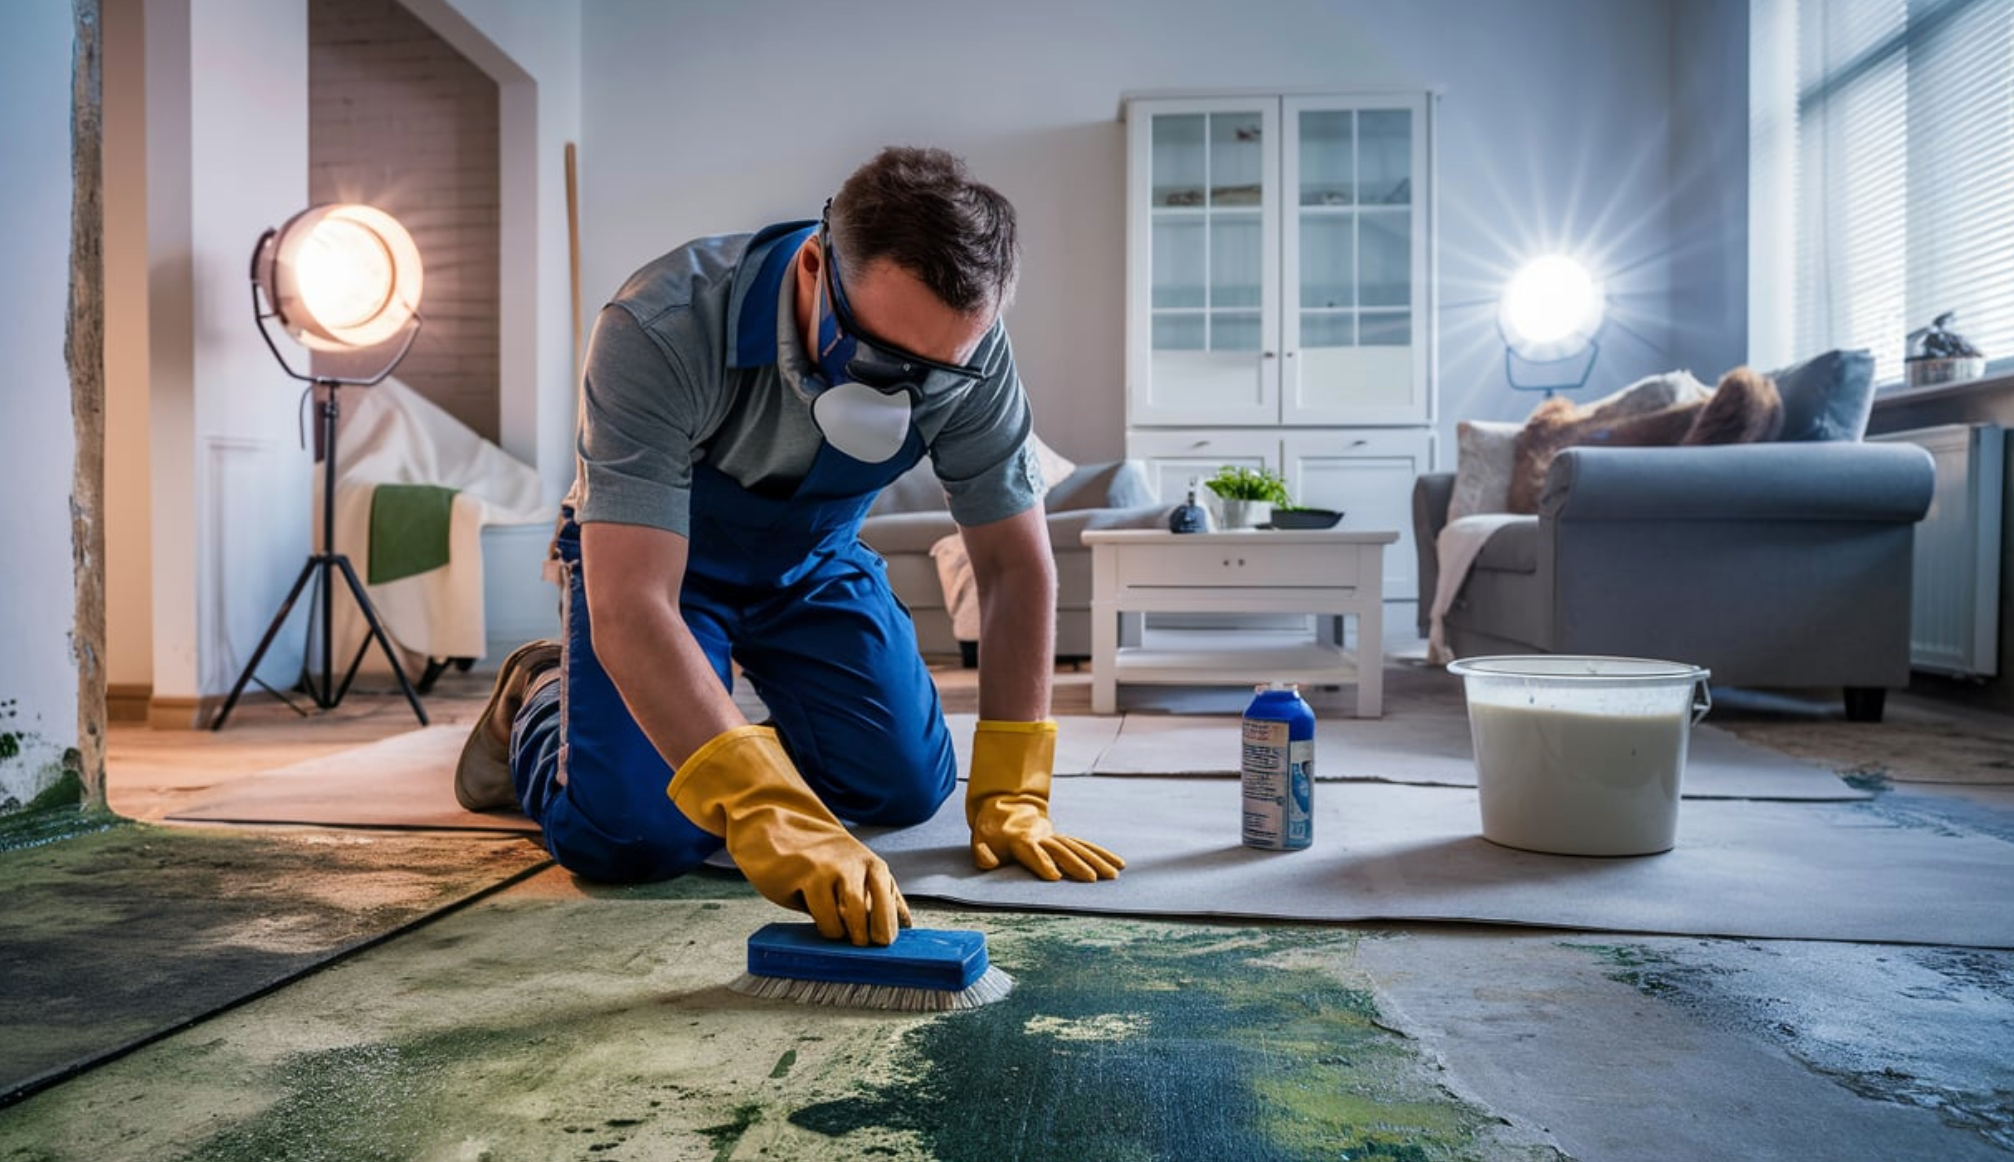
Remove furniture and items from the affected area. Seal off the work area with plastic sheeting to prevent spore spread. Wear appropriate personal protective equipment (PPE) including an N95 respirator mask, rubber gloves, eye protection, and protective clothing. Ensure good ventilation by opening windows or using fans.
4. Remove Visible Mold
Use a stiff brush or scraper to remove surface mold. For porous materials like drywall or insulation, consider complete replacement. Vacuum the area with a HEPA filter vacuum to capture loose spores. Dispose of moldy materials in sealed plastic bags. If dealing with particle board subfloors, replacement with plywood is often recommended due to its tendency to disintegrate when wet.
5. Apply Mold Killer Solution
Choose EPA-registered mold control products like Concrobium Mold Control, RMR-86 Instant Mold Stain Remover, or Benefect Botanical Decon 30. Avoid using bleach as it may not effectively kill mold on porous surfaces and can feed mold due to its high water content. Apply the chosen product according to manufacturer instructions. Allow the solution to sit for the recommended time. Some users have reported success with a mixture of vinegar and hydrogen peroxide for initial treatment.
6. Clean And Disinfect Area
Thoroughly clean the moldy areas using recommended products. For stubborn stains, use a solution of baking soda and water. Rinse the area thoroughly with clean water. Use a wet/dry vacuum to remove excess moisture. In cases of white mold or efflorescence, use a dehumidifier and a bleach/water mixture (1:10 ratio) to spray the affected area.
7. Dry Subfloor Completely
Use fans and dehumidifiers to accelerate drying. Allow for adequate air circulation in the affected area. Check moisture levels with a moisture meter. Ensure the subfloor is completely dry before proceeding with repairs or refinishing. This process may take several days to a week, depending on the extent of moisture damage.
8. Apply Mold-Resistant Primer
Choose a mold-resistant primer like Zinsser Mold Killing Primer or Kilz mold-resistant primer. Apply the primer evenly across the treated area. Allow the primer to dry completely before further work. Some contractors recommend using oil-based paint for added protection.
9. Replace Severely Damaged Sections
Cut out damaged portions of the subfloor. Install new plywood or OSB matching the thickness of the existing subfloor (typically 1/2 inch or 3/4 inch). Ensure proper support and fastening of new sections. Seal joints and seams to prevent moisture intrusion. When replacing subfloor sections, be cautious of wiring, ductwork, or joists, and consider adding blocking around the edge of walls for support.
10. Implement Preventive Measures
Install vapor barriers in crawl spaces. Improve ventilation in prone areas. Use dehumidifiers in damp spaces to maintain humidity levels below 50%. Regularly inspect and maintain areas prone to moisture. For older homes, consider adding more air bricks for improved subfloor ventilation.
11. Consider Professional Remediation
Consult mold remediation specialists for large-scale infestations (over 10 square feet). Seek expert advice for situations involving toxic black mold. Professional remediation ensures thorough treatment and safety. Costs can range from $500 to $6,000 depending on the extent of the damage. Some homeowners have reported spending up to $15,000 for extensive mold remediation in new constructions.
12. Address Underlying Construction Issues
For new constructions, ensure proper building practices are followed. Use materials like Dryguard Enhanced OSB for subflooring, which has moisture-resistant properties. Ensure proper installation of pressure-treated plates around foundations. Address any issues with joist fastening or subfloor installation promptly.
Protect Your Home And Health With Our Subfloor Mold Removal Service
Ensuring a mold-free home is crucial for the safety and health of your family. Our mold remediation specialists specialize in comprehensive mold removal services, including addressing mold on subfloors. Our experts use advanced tools and EPA-registered products to eliminate mold effectively, ensuring thorough drying and applying mold-resistant primers. Don’t wait until mold jeopardizes your health and home structure. Contact us today for a professional inspection and reliable mold remediation.
