Mold On Floor Joists In Crawl Space: How To Clean And Remove?
TL;DR: Mold often shows up on floor joists in crawl spaces and basements. This usually happens because the humidity is above 60% and there isn’t enough ventilation. You might see mold as white, black, or powdery spots on wooden joists that are 2×6, 2×8, or 2×10 in size. To get rid of mold, clean the affected areas with a mixture of 50% bleach and 50% water. You can also use specialized products like Concrobium, BoraCare, or Timbor. Remember to wear protective gear, such as a full-face respirator, while you clean. If the mold growth is extensive, you might want to consider dry ice blasting as an option. To stop mold from growing in the first place, start by installing a 6-mil vapor barrier and using a dehumidifier to keep humidity levels below 55-60%. Ensure proper drainage and ventilation in crawl space to control moisture. Encapsulating crawl spaces can give you long-term protection against mold. If mold is left untreated, it can cause serious structural problems. This might mean you’ll need to sister new joists to fix the damage. If you notice mold covering a large area or if the wood moisture content is over 28%, it’s best to get a professional to assess the situation.
Mold on floor joists in crawl spaces can be a big worry for homeowners. It often shows up because of high humidity, bad airflow, or hidden leaks. Many people only notice the mold after it has already spread, which raises worries about damage to the house and health issues. You might be thinking about how to deal with this problem, especially if your DIY methods, like using vinegar sprays, haven’t worked. Others feel the same way, facing issues like mold that keeps coming back even with dehumidifiers, and they’re unsure whether to call in the pros or try to fix it themselves. Don’t worry! This guide will look at practical solutions and expert tips to help you get rid of mold on floor joists and make your space safe again.
What Causes Mold On Floor Joists?
Mold growth on floor joists in crawl spaces is a common problem mainly caused by too much moisture. This issue is especially frequent in humid areas like the Southeast, Gulf Coast, and Northwest, where crawl spaces can stay damp for long periods. Several factors lead to this moisture buildup, which can cause mold to grow and even harm the structure of the building.
High humidity levels, often above 70 percent, create a perfect environment for mold. Crawl spaces with wall vents are particularly at risk because they let humid outdoor air in. When it rains or the air is humid, moisture can condense on cold surfaces like floor joists and ductwork, making it easy for mold to take hold. This problem gets worse in crawl spaces with air conditioning since the cold air leads to more condensation.
Poor ventilation practices make the situation even worse. For example, closing wall vents in winter to save energy can trap moisture inside. Water vapor from the ground, rain, and groundwater seeping through block walls adds even more moisture, especially in crawl spaces with wall vents. Just using polyethylene ground covers isn’t enough to keep crawl spaces dry, as water droplets can still gather underneath them.
Inadequate drainage around the crawl space can also be a problem. If the ground slopes toward the foundation or if there are plumbing leaks, water can easily get in. Air leaks between the crawl space and the living areas can bring warm, moist air that condenses on cooler surfaces like floor joists. This is a common issue in older homes with poorly sealed ducts and openings.
Certain types of fungi, like Poria incrassata, can speed up decay by pulling moisture from the soil and spreading it to the wood. Poor construction practices, such as building too close to the ground or blocking airflow with things like porches and HVAC equipment, make moisture issues worse.
Mold needs four main things to grow: spores, organic material to eat, warmth, and moisture. Spores are everywhere and can land on any surface, including wood. The organic material in wood floor joists is a great food source for mold. When you add moisture and warmth, it creates the perfect conditions for mold to thrive.
To stop mold from growing on floor joists, it’s important to tackle the main causes of moisture buildup. Keeping wood moisture levels below 20% is key, as this is the level where mold and decay fungi can grow. Good ventilation, using vapor barriers, waterproofing foundation walls, and directing water away from the house are all important steps to reduce moisture and stop mold growth.
Sealing the crawl space from outside air, installing moisture barriers, and insulating foundation walls can effectively lower moisture levels and prevent mold. You should also deal with external moisture sources like rainwater runoff and overflowing gutters, as well as internal sources like cooking, bathing, and laundry activities, to keep overall moisture levels in check.
What Does Mold On Floor Joists Look Like?
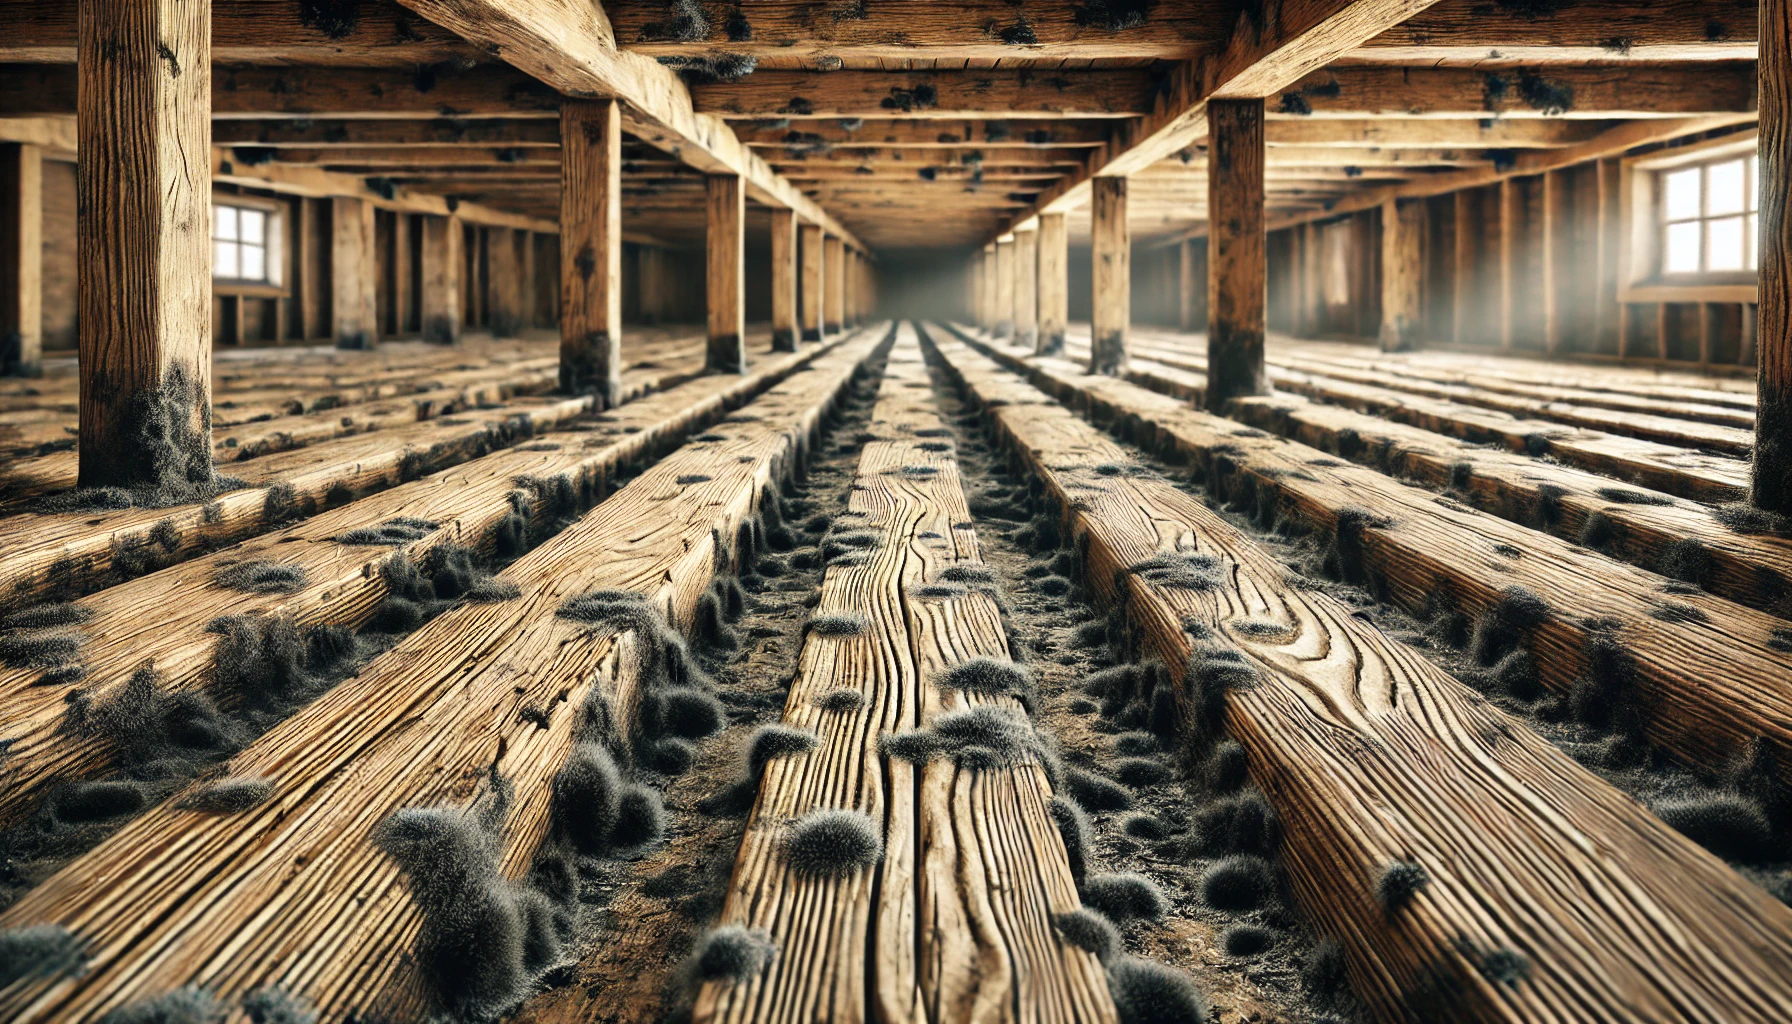
Mold on floor joists usually appears as dark patches or spots. These can be black or even greenish. The texture of the mold can change too. It might look fuzzy, powdery, or slimy, depending on the type of mold and the conditions where it grows. In crawl spaces, mold can range from light spots to thick patches that cover large areas. How much mold you see often relates to the moisture level and how far the growth has spread. Sometimes, you’ll find mold only in certain areas of the joist. This makes it stand out against the natural wood color.
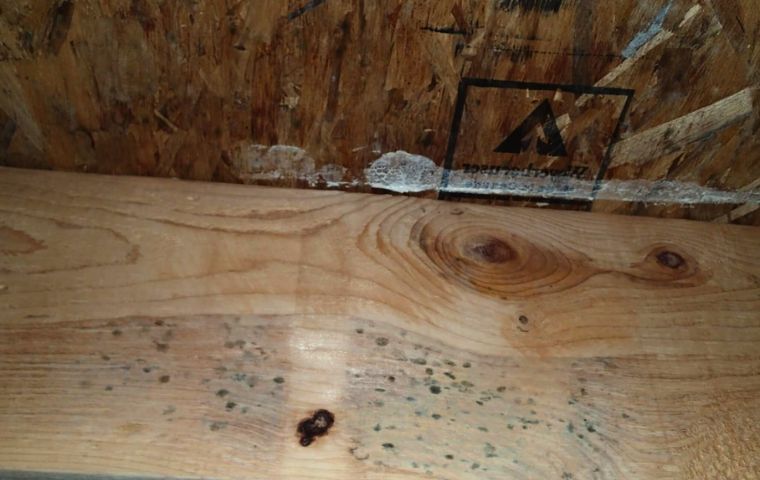
If you look closely, mold can have irregular shapes and patterns. It tends to spread in a random way instead of in neat sections. This randomness helps distinguish it from other stains or discoloration on wood. Additionally, mold can give off a damp or musty smell. While this odor isn’t visible, it can be a sign that mold is present.
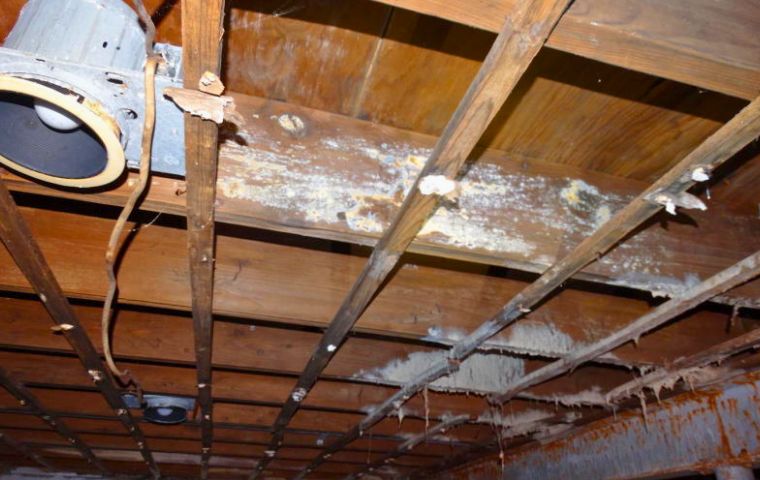
In crawl spaces, mold is often more noticeable because these areas are darker and more humid. This environment can lead to significant mold growth on the joists and nearby materials. If you see mold, it usually means the wood is soaking up moisture. If this isn’t taken care of, it could cause further damage. Overall, seeing mold on floor joists is a clear sign that there are moisture problems that need to be looked into.
How Does Mold Affect The Structural Integrity Of Floor Joists?
Mold can have a big impact on the strength of floor joists by creating conditions that lead to decay and damage. While mold itself doesn’t directly weaken wood, it grows in places where the moisture content is at or above 20%. This high moisture level is important because it points to a bigger problem that could cause more serious issues. Mold feeds on the starches and sugars in wood, but it’s the moisture that really causes trouble. When there’s too much moisture, it can lead to even more harmful organisms, like decay fungi, taking hold.
When mold is present, it makes wood more porous, which means it can soak up more moisture. This extra porosity lets moisture seep deeper into the wood, keeping it damp for longer. If the moisture stays high for too long, it creates a perfect setting for decay fungi. These fungi break down cellulose and lignin, which are key parts that help keep wood strong. Over time, this breakdown can greatly reduce the load-bearing ability of floor joists, which could lead to serious structural problems.
If you find mold on floor joists, it’s important to check how much damage has been done. You should talk to a structural engineer to assess the condition of the affected wood. If there’s severe damage, you might need to replace the joists completely.
For instance, if a joist shows a lot of mold and possible rot, just cleaning it might not be enough. Instead, replacing it with new sistered joists could be the best solution. Also, taking steps to control moisture—like improving ventilation, installing vapor barriers, and ensuring proper drainage—can help keep mold from coming back.
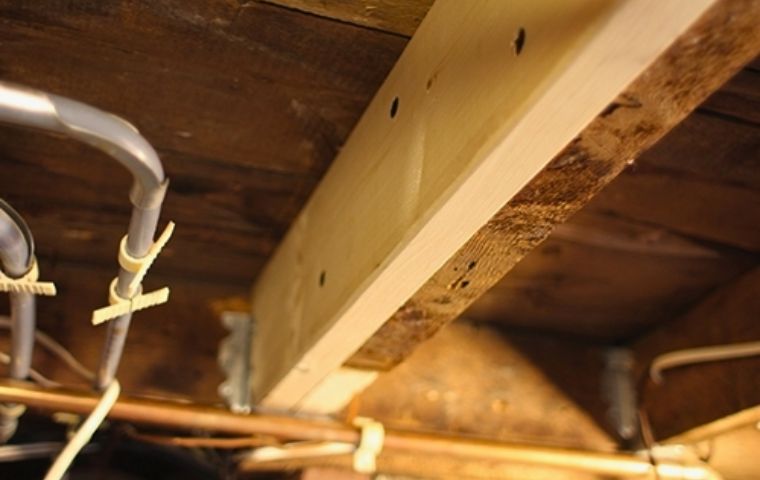
How To Clean And Remove Mold On Floor Joists?
Cleaning mold from floor joists is an important task that involves several key steps. You need to find and fix sources of moisture, wear the right protective gear, use effective cleaning solutions, dry the area thoroughly, and take preventive measures. Paying attention to safety, proper cleaning methods, and ongoing moisture control is essential for keeping mold from coming back.
Step 1: Identify And Address Moisture Sources
Start by finding out where the moisture is coming from that helps mold grow. This could be due to water leaks, condensation, or high humidity levels. Check for problems like broken French drains, poor ventilation, or high groundwater levels. Fix these issues before you begin cleaning.
Step 2: Prepare For Safe Cleaning
Before you start cleaning, put on the right protective gear. This should include a respirator to protect your lungs, gloves for your hands, and goggles for your eyes to avoid contact with harmful spores. Make sure the work area is well-ventilated. If the mold is widespread or if you have health concerns, it might be best to call in mold remediation professionals like us. We have all right tools and required experience to handle mold safely.
Step 3: Apply Cleaning Solutions
Choose an effective cleaning agent based on the surface type and extent of mold growth. For non-porous surfaces, a bleach solution can be effective. However, for wooden structures, alternative cleaners like vinegar, hydrogen peroxide, or specialized products such as Concrobium are often recommended. Apply the chosen solution generously to affected areas, agitating with a wire brush or soft-bristled brush to dislodge fungal colonies. Allow the treatment to remain for 30 to 60 minutes before rinsing or wiping clean.
Step 4: Treat Stubborn Infestations
If mold keeps coming back, you might need stronger treatments. Products like copper sulfate or boron-based treatments such as BoraCare or Timbor can penetrate wood deeply. They create an environment that is unfriendly to mold and pests, providing long-lasting protection. These treatments are especially useful for tough mold problems that don’t respond to regular cleaning.
Step 5: Dry The Area Thoroughly
After cleaning, it’s vital to get rid of any leftover moisture. Use fans, industrial drum fans, or dehumidifiers to dry the area completely. Proper drying is crucial to prevent mold from growing back. For larger spaces, some people use dry ice blasting, which can remove mold without adding moisture back into the area.
Step 6: Apply Protective Sealants
Once the joists are clean and dry, think about using a mold-resistant sealant or a shellac-based product like KILZ. These products can add an extra layer of protection against future mold growth. In most cases, however, simply keeping the area dry is enough.
Step 7: Implement Preventive Measures
To manage ground moisture, install a 6-mil vapor barrier in crawl spaces. Ensure there’s good ventilation, which might mean putting in a fan that runs based on humidity or installing vents to allow seasonal airflow. Use a dehumidifier to keep humidity levels below 60%.
What To Spray On Mold On Floor Joists?
| Method | Description | Advantages | Considerations |
|---|---|---|---|
| Bleach Solution | 25% bleach mixed with 75% water | Kills surface mold | May not penetrate deeply; harmful fumes; potential wood damage |
| Concrobium | Specialized mold remediation product | Safe and effective; no harsh chemicals | May require multiple applications for best results |
| Vinegar | Undiluted vinegar sprayed on affected areas | Non-toxic; effective against many mold species | May not eliminate all mold types; odor may linger |
| Hydrogen Peroxide | 3% solution applied to moldy areas | Effective against mold without strong odors | Requires proper application; may need repeated use |
How To Prevent Mold On Floor Joists?
Here’s how you can prevent mold on floor joists:
1. Maintain Proper Ventilation
It’s important not to seal airbricks because this can cause moisture to build up in floor spaces. Airbricks are essential for allowing airflow. If you must seal them, do so very carefully and keep an eye on the area for signs of increased humidity. Good ventilation helps prevent mold growth.
2. Install Ground Moisture Barriers
To keep ground moisture at bay, use ground covers like a 100 mm concrete over-site or similar barriers. These barriers help reduce evaporation and limit moisture from entering the crawl space. This creates a drier area that is less likely to encourage mold.
3. Ensure Proper Insulation Placement
Make sure insulation doesn’t block airflow. Proper airflow is key to controlling moisture. If necessary, consider chamfering or modifying insulation placement to maintain airflow. This not only helps prevent mold growth but can also improve energy efficiency.
4. Apply Strategic Interior Insulation
A key method is to apply low air-permeable insulation on the inside of the joists. Good options include spray polyurethane foam or foam board. This insulation raises the temperature on the inside surface above the dew point, which helps reduce condensation and the chance of mold. Closed-cell spray foam is especially effective, as it has very low vapor permeability (0.1 to 1.0 perms). It blocks moisture-laden air from reaching cold surfaces, which helps minimize condensation.
5. Consider Exterior Insulation
Another option is to install rigid foam insulation, like XPS rigid foam (1.0 perm), on the outside of the rim joists. This keeps the joists warmer, which lowers the risk of condensation inside. It’s important to install the exterior foam insulation properly to avoid water getting in.
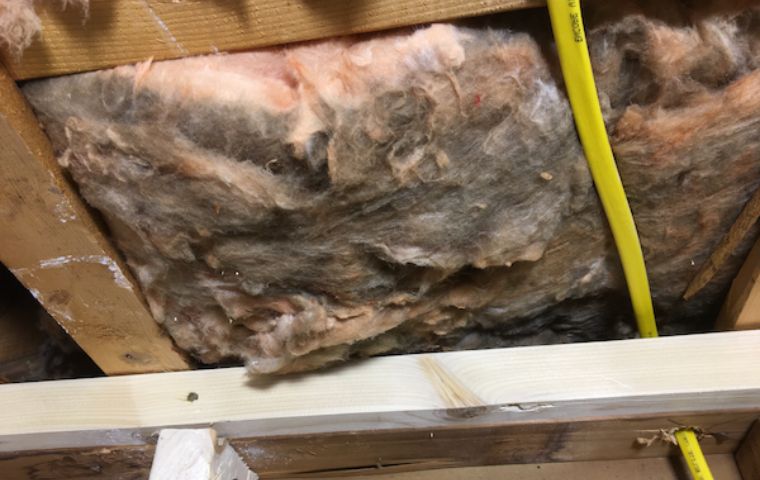
6. Balanced Approach To Insulation
Using both interior and exterior foam insulation can help control condensation better. However, this method needs careful thought. While it’s effective in preventing condensation, it might also trap moisture if it gets in. This can slow down the drying process and increase the risk of moisture buildup over time.
Struggling To Remove Mold On Floor Joists? Our Experts Are Here To Help!
Dealing with mold on floor joists can be tricky and time-consuming, especially when moisture keeps creeping back. Don’t risk further damage to your home or your health. Our professional team at Mold Removal Memphis is ready to tackle the toughest mold problems, ensuring a thorough cleanup and lasting protection. Contact us now to schedule an inspection and keep your home safe and mold-free!
